Ingredients
Equipment
- 16 by 16 inch pan (40 by 40 centimeters)
- Ooni Pizza Oven
- Spray bottle
- Ooni Infrared Thermometer
- Ooni Pizza Turning Peel
- Ooni Pizza Oven Gloves
- Baking rack
- Ooni Pizza Cutter Rocker Blade
Ingredients
- 20 ounces (598 grams) cold water
- 1 ½ teaspoons (4.5 grams) active dry yeast
- 3 tablespoons (39 grams) extra-virgin olive oil
- 3 teaspoons (19.5 grams) sea salt
- 5 ½ cups (650 grams) Caputo Gluten Free Flour
- 1 tablespoon (15 grams) extra-virgin olive oil (or olive oil spray)
- 2 tablespoons (11 grams) Parmigiano Reggiano (optional)
Quick Tip
Shop our Ooni products here -> https://bit.ly/plumsooni
Recipe Preparation
- In a large mixing bowl, add the water and then the yeast. Use a whisk or your hand to mix until the water becomes dark and muddy.
- Add 1 ½ tablespoons (19 grams) of olive oil and continue to mix with a whisk or by hand; add all the salt and mix again.
- Add the flour and mix by hand (or use a spatula if you prefer), working out all the lumps in the mix–about 5 minutes.
- Add the remaining olive oil (1 ½ tablespoons or 20 grams) and mix for another 5 minutes. Scrape any excess mixture off your hand back into the bowl.
- To prepare your pan for the dough, add ½ tablespoon (10 grams) of olive oil and work it into the corners, sides and bottom until the surface is coated with a thin layer of oil.
- Add the batter-like dough to the pan and work evenly until it stretches into all corners. Try not to rip the dough, but if you do, gently press it back together. Because of the dough's loose nature, I find it pieces back together quite easily.
- Drizzle the remaining about ½ tablespoon (5 grams) of olive oil over the surface of the dough and spread it out as evenly as you can (you can also use an olive oil spray for an even coating).
- Place the pan into your conventional home oven and allow it to rise until it touches the top of the pan rim, about 4 hours. If the dough seems to be drying out, remove the pan from the oven and drizzle the surface of the dough with another thin, even layer of oil.
Tip: If using a Karu 16 or Karu 12, simply place the pan inside and allow the dough to rise with the door closed.
- Use a spray bottle to mist water into the oven once an hour to keep the oven humid and prevent a skin from forming on the dough. (Spritz the entire oven from left to right, about 5-6 spritzes each time.)
- Fire up your Ooni oven to its highest setting. Aim for 700°F (371°C) on the baking stone inside. Use the infrared thermometer to quickly and accurately check the temperature of the middle of the stone.
- Place the pan in the oven, close the door and immediately turn off the flame. Par-bake the dough in the residual heat for a total of 4 minutes, using a turning peel to turn a ¼ rotation every minute, closing the door after each turn.
- Using your Pizza Oven Gloves, remove the pan from the oven; depan the pizza with a spatula and flip it onto a rack, allowing it to cool upside down for 10 minutes.
- When you’re ready for a final bake, add oil to the bottom of your pan (and if you like, scatter Parmigiano Reggiano over the bottom to melt into the crust) then place your par-bake pizza back in the pan.
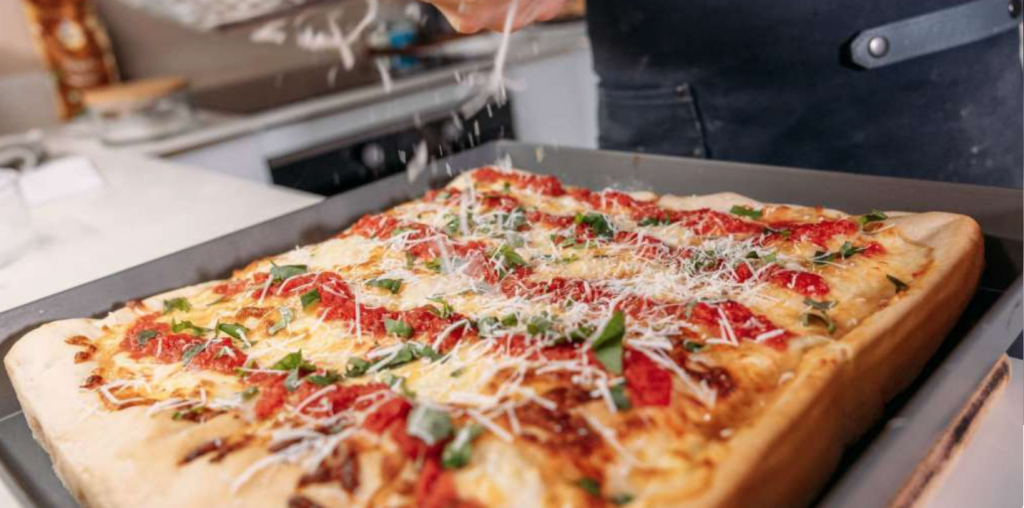
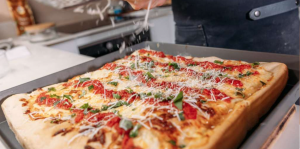
- Preheat your Ooni to 700°F (371°C). Top your pizza however you’d like, then return it to the oven. Immediately turn off the flame and let it cook in the oven’s residual heat for 15 minutes, or until golden brown in color.
- Remove from the oven, slice, serve and enjoy!
Instruction Notes
This is a hand-mixed recipe that results in a dough whose texture is more like a batter. Could you use a mixer instead? Sure, but that loose texture can make it more trouble than it’s worth (it can be difficult to scoop out of the mixing bowl). This dough isn’t delicate until it rises, so if it rips while stretching, simply squeeze it back together and keep stretching.