By Baker Sara Damjanovic of Floret Cakery
Whether you’re browsing Pinterest or Instagram, one thing is clear: buttercream flowers are very, very in right now. While the thought of piping roses or succulents may seem a little scary, with a lot of patient and practice, you’ll be able to create your own beautiful, edible decorations that will set your desserts apart from others.
When it comes to piping flowers, the general consensus among most cake decorators is that roses are by far the easiest flower to start practicing with. Before we get into the specific steps, I’m going to go over the supplies you’ll need to master buttercream roses.
To start, you’ll want to make your buttercream. When it comes to buttercream, I personally like to work with Swiss or American style buttercreams. American style buttercreams are incredibly easy to throw together and typically consist of butter, powdered sugar, vanilla, salt and some whole milk or heavy cream. Swiss meringue buttercreams require a little bit more time and effort to put together, but typically yields a sturdier buttercream that holds up as you decorate cakes. Your traditional Swiss buttercream will consist of egg whites, sugar, cream of tartar, vanilla, salt, and butter. Lots of butter. There are many different recipes across the internet; however, I’ve found Stella Parks’ version on Serious Eats to be my favorite (https://www.seriouseats.com/recipes/2016/11/easy-swiss-meringue-recipe.html)
Once you’ve made your buttercream, you’ll want to gather the rest of the supplies you’ll need to assemble your roses including:
- Good quality gel food coloring (Americolor brand is my favorite; Wilton is also great)
- Standard coupler (this is used for switching out tips easily)
- Piping bags
- Piping nails
- Piping tips #12 and #104
- Squares of parchment paper
- Rubber gloves, to keep your hands clean!
After you’ve mixed your colors, you’ll want to begin piping. Take a healthy amount of buttercream and place it in your first piping bag that has been prepared with piping tip #12. This will be the base of your rose.
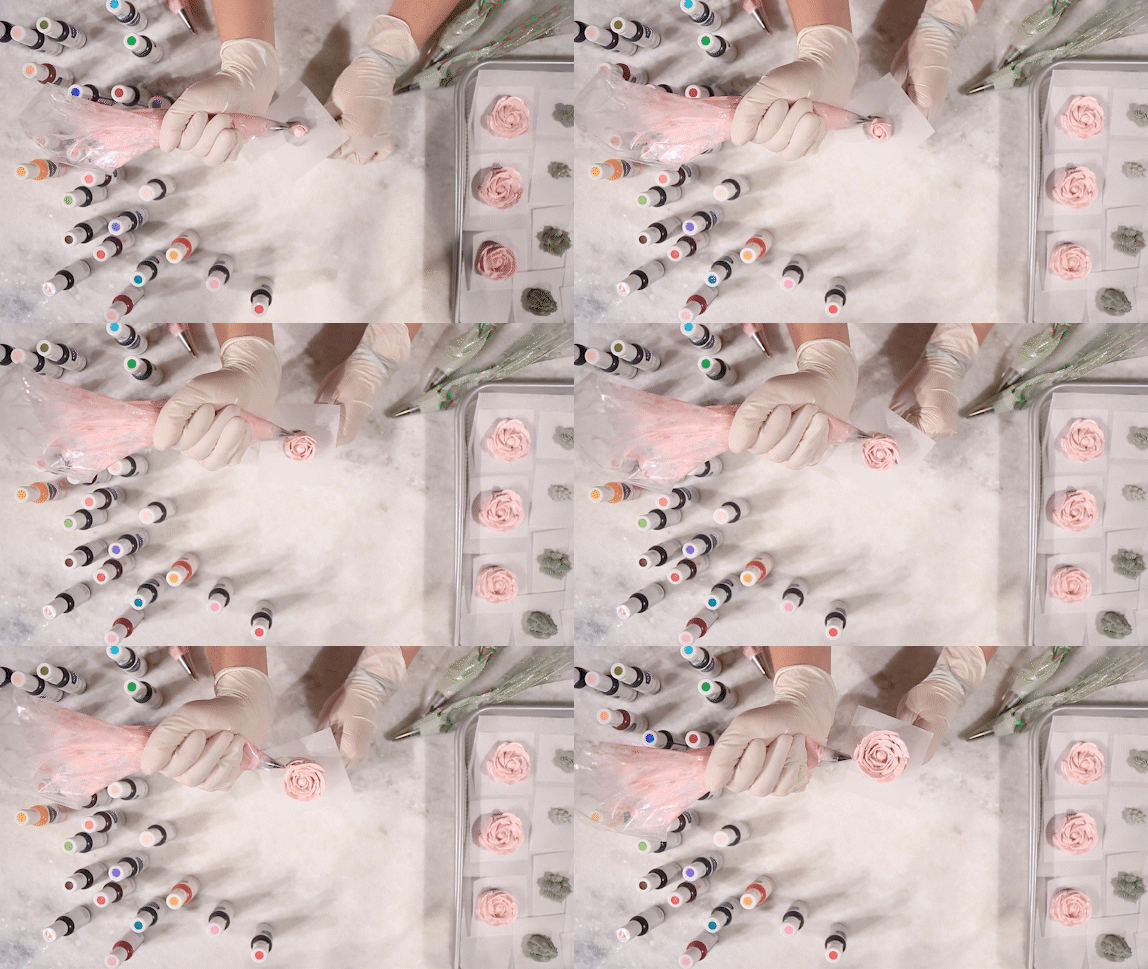
Pipe a small dab of buttercream onto your nail to make sure that your parchment doesn’t slip all over the place Squeeze your piping bag firmly to create a mound on your parchment paper square that will serve as the center of your rose. The mound should have a cone-like shape and be tall—you want your roses to have some depth!
Next, you will use tip #104 to make your petals. The widest part of the tip should be pointed down and touch the base of your mound. The thin end of the tip will help create the visible edge of your petals. Angle your tip slightly (no more than 45 degrees) and begin piping your petals by making scallop shapes. Once you have made one scallop, continue your next one from the middle of the scallop you just piped to create a layered effect. Continue this motion until you have piped to your desired size. For an example, check out this video of me piping a rose flower. https://www.youtube.com/watch?v=qbeanb6USys
Piping roses takes time and patience! Don’t give up if your first few flowers look “weird”—it’s a process! Practice as often as you can and you’ll be a rose piping pro in no time.


