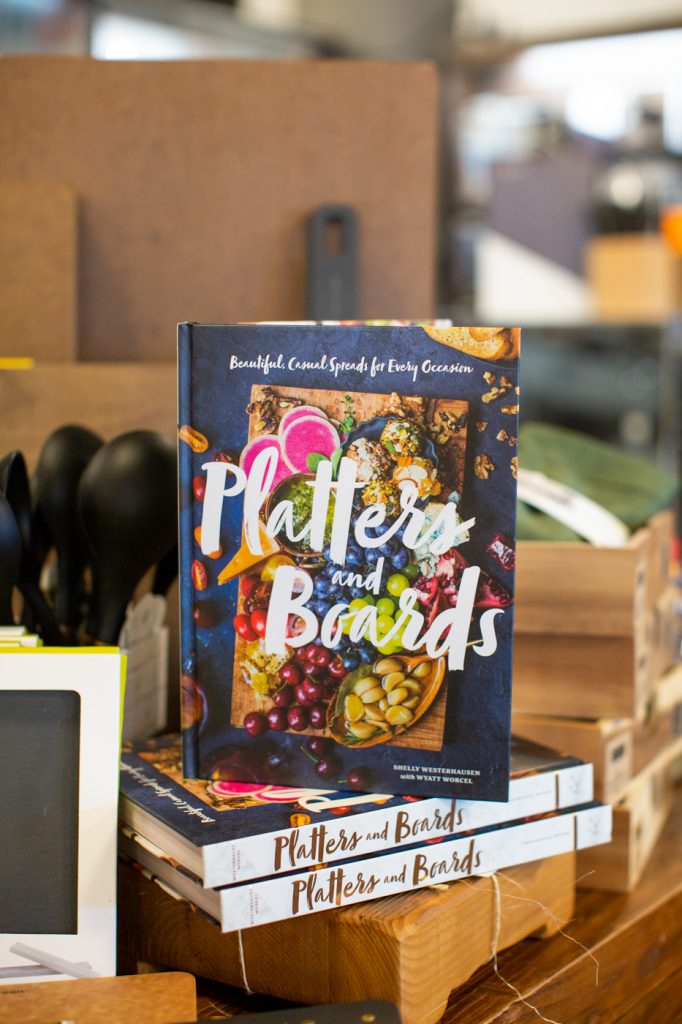
“Platters and Boards” written by Shelly Westerhausen with Wyatt Worcel
Step 1: Picking a Board, Platter or Tray
Wood: The most accessible option with vast options available. A good-looking board is a terrific gift. Make use of the color of wood by adding high contrast with the color of foods. With a dark wood like olive or walnut, use light-colored food.
Marble, granite, and other stones: This cheeseboard would create a classic look. It’s great for keeping your food cool, but also very heavy compared to other options. Another downside is that it stains easily, so finding a food-safe marble cleaner for your board is important.
Metal: Metal options are very light and are easy to find at a local antique shop! They come in a variety of colors, shapes, and sizes. Also to mention, they are very easily cleaned.
Slate or chalkboard: A dark surface provides a nice color contrast to food, giving it an appealing visual pop. You can use chalk to illustrate or write out what is being served. A drawback is that it scratches easily.
Pink salt: A beautiful Himalayan salt slab makes a wonderful platter for a pop color, and a hint of salt to your food.
Ceramic: Find a heirloom antique. They come in all different shapes and sizes, so arranging multiple pieces on a table and assembling food across them all makes for a beautiful display.
Props for Your Board
- Cheese knives
- Wooden picks
- Cheese labels
- Vessels (ie. small bowls or plates)
- Linens and napkins
- Parchment paper
To shop platters, boards, and prop options, visit here: https://shopplumscooking.com/collections/charcuterie-boards-accessories
Assembling a Board or Platter
Choose your surface. Figure out the star of the show for this time around. Various options listed above.
Invent your theme. Pick out one of the many themes based in the book, or from a season, occasion, or color scheme.
Find the main food or foods to base your board around. Pick an item or two you want to serve. If it is cheese, arrange that first, then place everything else around them. This ensures the cheeses do not accidentally absorb each other’s flavors.
Determine what your complimentary items are. Make sure you are getting a little bit of salty, sweet, savory, and tangy all on your board (unless it is an all sweets board).
Start spare, and add food components one at a time, working outward from the main item. The key with this is avoid flavor mixing.
Add any additional tools such as utensils, labels, and food picks. This is also a great time to see if any of the foods might seep or spread, so placing them in their own small dishes would be a good idea.
It’s time to serve and eat your creation!
For more on “Platters and Boards”, shop the book here: https://shopplumscooking.com/products/platters-boards
